Use coupon code FALL2026 for 25% off at checkout! Book your tour
Field Notes / From the trail
The Ultimate Guide to the Grand Canyon Rim-to-River Day Hike
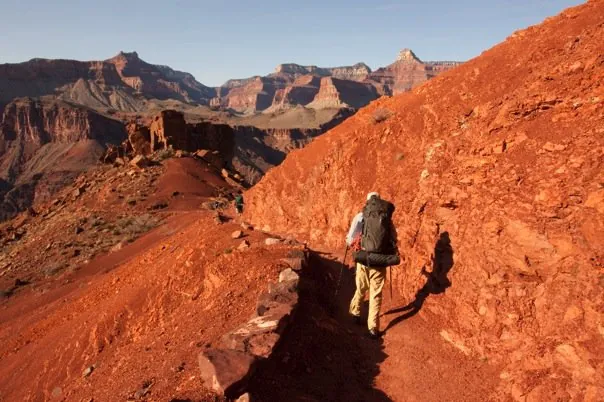
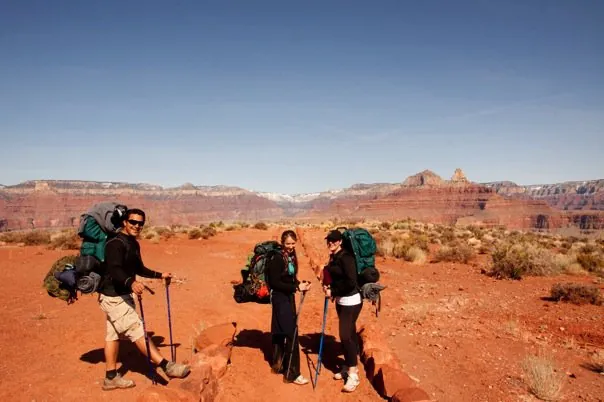
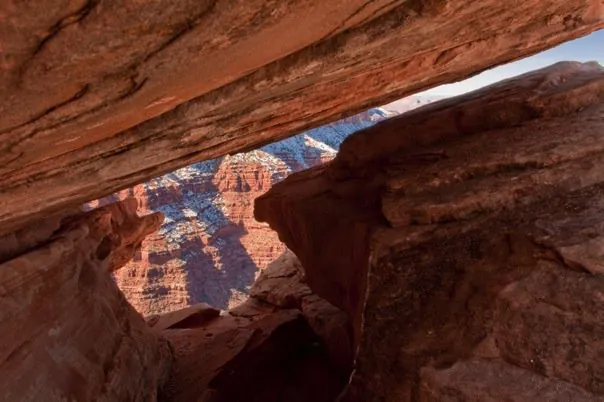
A journey from the South Rim to the Colorado River and back is more than just a hike; it is a “vertical traverse” through millions of years of geology and several distinct climate zones. While standing on the rim offers a breathtaking view, standing at the base of the canyon—looking up at nearly a mile of towering rock—is a perspective very few travelers ever see.
However, this is a world-class physical challenge. To ensure your “Big Ditch” adventure is memorable for the right reasons, here is everything you need to know about planning a Rim-to-River day hike.
1. Permits: Do You Need One?
For a day hike no permit is required. You can simply lace up your boots and head down the trail.
Note: Permits are only mandatory if you plan to stay overnight below the rim (at Havasupai Gardens, Bright Angel Campground, or Phantom Ranch) or if you are organizing a large non-commercial group of 12–30 people.
2. Water Access: The Critical Lifeline
Never assume water is available. The Grand Canyon’s Transcanyon Waterline is decades old and prone to frequent breaks.
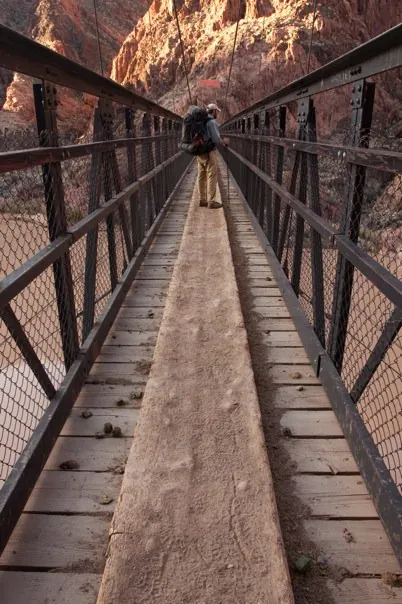
- South Kaibab Trail: There is no water on this trail. You must carry everything you need for the descent.
- Bright Angel Trail: Historically, water is available at Havasupai Gardens and the Mile-and-a-Half and Three-Mile Resthouses (seasonally).
- Current Status (April 2026): As of early April, a major pipeline break has triggered Stage 3 Water Restrictions. Water is currently OFF at Bright Angel Campground and Havasupai Gardens.
- The Golden Rule: Always carry a backup method of filtration (like a Sawyer Squeeze or Katadyn BeFree) in case the spigots are dry.
3. Heat Warnings: The “Reverse Mountain” Effect
Unlike most mountains where the summit is the most dangerous part, the Grand Canyon gets more dangerous the lower you go. Temperatures at the river can be 20–25°F hotter than at the rim.
During the warmer months, inner canyon temperatures frequently exceed 110°F. The National Park Service strongly advises staying off the trails between 10:00 AM and 4:00 PM. If you are still in the canyon during these hours, find shade near water and wait for the sun to drop.
4. Weather Considerations
In Northern Arizona, weather can change in an instant.
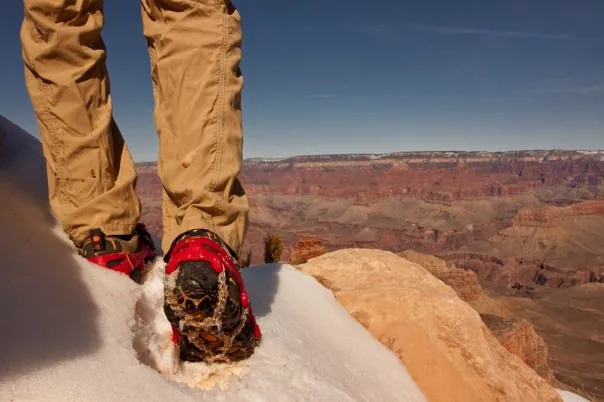
- The Temperature Swing: You might start your hike in 30°F frost at the South Rim and find yourself in 90°F heat by lunchtime at the river.
- Flash Floods: Afternoon monsoons (common in late summer) can turn dry washes into dangerous torrents. Always check the forecast at the Backcountry Information Center before descending.
5. What to Pack & Wear
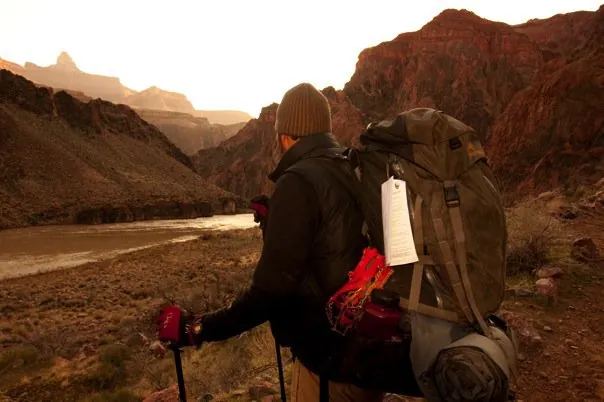
Your pack should be as light as possible but include the “Ten Essentials.”
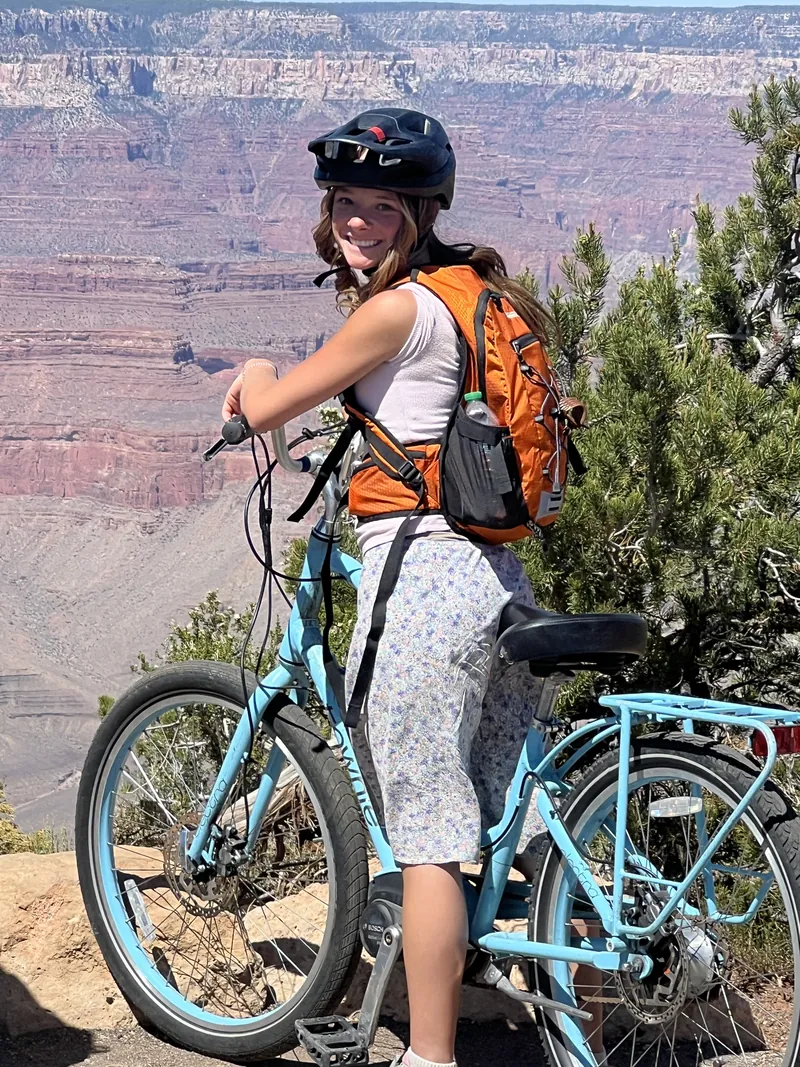
- What to Wear: When dressing for a Rim-to-River trek, think of your clothing as equipment rather than just an outfit. The key is breathable layering that can adapt to a 40-degree temperature swing. While it’s tempting to reach for a tank top and short shorts in the heat, high-altitude sun exposure can lead to rapid exhaustion and severe burns. Instead, seasoned canyon hikers opt for loose, lightweight, and light-colored technical fabrics that provide a “personal shade” effect. A long-sleeved sun hoodie and breathable trekking pants protect your skin from UV rays while allowing airflow to naturally cool your body. Don’t overlook your feet: pair well-broken-in footwear with high-quality, moisture-wicking wool blend socks (like Merino) to prevent the friction and moisture that cause trail-ending blisters.
- Hydration: 3–4 liters of capacity. Always check the NPS website for possible breaks in waterlines. DO NOT COUNT ON TRAILSIDE WATER – there are frequent interuptions that cause inconsistant water access.
- Salty, Fatty Food and Protein Rich Snacks and Food: You need to replace the salt you lose through sweat to avoid hyponatremia (water intoxication). Think pretzels, protein bars, jerky, olives, and electrolyte tabs. If you’re used to. an afternoon cup of coffee don’t forget to pack an instant packet of coffee to prevent caffiene withdrawal.
- Illumination: A headlamp with extra batteries. Many hikers start at 4:00 AM and finish after sunset.
- Sun Protection: A wide-brimmed hat, polarized sunglasses, and a lightweight sun-hoodie.
6. Choosing Your Path: Which Trail is Right for You?
Not all trails into the Grand Canyon are created equal. The South Rim offers three primary veins into the heart of the canyon, each with a distinct personality, grade, and level of “amenities.”
Here is how they stack up, ranked from least to most difficult:
1. Bright Angel Trail (Moderate Difficulty)
The “Classic” Corridor Trail This is the most popular trail in the park for a reason: it offers the most shade and (usually) the most water. It follows a natural break in the cliffs, making the switchbacks slightly more forgiving than the other routes.
- Pros: Frequent resthouses with seasonal water; more shade-providing cliff walls; easier on the knees during the descent. Cons: The most crowded trail; can be “muddy” due to heavy mule traffic; the final three miles of the ascent are notoriously grueling in the afternoon sun.
2. South Kaibab Trail (Hard)
The “Ridgeline” Express If you want the most “bang for your buck” in terms of views, this is it. Unlike Bright Angel, which is tucked in a side canyon, South Kaibab stays on an open ridge, offering 360-degree panoramas of the canyon’s depths.
- Pros: Unrivaled, expansive views from start to finish; the fastest way to reach the river; typically less crowded than Bright Angel. Cons:Zero water and almost zero shade; steeper and more direct, which is taxing on the joints; you must take a park shuttle to reach the trailhead.
3. Hermit Trail (Expert / Most Difficult)
The Rugged Wilderness Experience Located at the far west end of Hermit Road, this is an unmaintained “threshold” trail. It is significantly more rocky, steep, and primitive than the corridor trails.
- Pros: Incredible solitude; unique geological formations like the “Hermit Shale” footprints; a true wilderness feel far from the tourist crowds. Cons: Very steep and rocky (no “groomed” steps); no treated water available; the trail is physically demanding and requires advanced navigation and “scrambling” skills.
The TrekWest Recommendation
For a Rim-to-River day hike, many experienced hikers prefer a “Loop” or “Cross” strategy: Descending South Kaibab in the early morning to catch the sunrise on the ridges, and Ascending Bright Angel in the afternoon to take advantage of the shade and potential water stations during the hardest part of the climb.
Take the Guesswork Out of Your Adventure
The Grand Canyon is a complex environment where the logistics can feel overwhelming. If you want to experience the magic of the inner canyon without the stress of monitoring pipeline breaks, calculating water ratios, or navigating transit schedules, TrekWest is here to help.
We offer private guided hiking tours tailored to your group’s pace and ability. As local experts and restaurant owners, we don’t just provide world-class guiding—we also provide a gourmet, regionally sourced culinary experience to fuel your trek. Let us handle the logistics so you can focus on the view.
Submit a Comment Cancel reply
Recent Posts
- Packing Snacks for Your Hike: Think Like an Astronaut!
- Arizona’s Best Water Hikes: A Guide to Desert Oases
- Finding Your Basecamp: Where to Stay When Visiting Grand Canyon
- The Ultimate Guide to the Grand Canyon Rim-to-River Day Hike
- Flagstaff Arizona’s Best Day Hikes
Recent Comments
@trekwesttours
Dozens of reels from the trail
Quick tips, hidden overlooks, road-trip tricks and the places we love around the Grand Canyon, Flagstaff and Sedona. New ones every week, straight from our guides.
Watch on Instagram
Want to see it with a local guide?
Small groups, no more than 10 guests, park fees and lunch included on our day tours. Book online or ask us anything.